How to Choose and Build a DIY Swim Spa Cover That Actually Works
Home / News / How to Choose and Build a DIY Swim Spa Cover That Actually Works
September 29, 2026
A swim spa left uncovered loses heat fast, collects debris overnight, and becomes a safety hazard for curious kids or pets. That’s why so many owners search for a diy swim spa cover as a way to cut costs while still protecting a substantial backyard investment. Building your own cover is doable, but it comes with real tradeoffs around insulation, durability, and long-term maintenance that are worth understanding before you start cutting foam.
This guide walks through what a homemade cover can realistically achieve, where it falls short compared to a manufactured one, and how to plan a build that fits a large swim spa like a 19-foot backyard model without turning into a weekend-long headache.
Why Swim Spa Covers Matter More Than You Think
A swim spa holds thousands of liters of heated water, and every hour it sits uncovered, that heat radiates into the air. The M-503 model, for example, holds 7,890 liters and runs on a 13.35 kW power draw across dual 3,000-watt heaters. Without a cover, those heaters work overtime just to hold temperature overnight.
Evaporation is the other silent cost. Warm water evaporates faster than people expect, and each liter that leaves the pool takes heat energy with it. A cover slows that process, which means less water top-up, less chemical rebalancing, and fewer hours the pumps spend fighting temperature drift.
There’s also a debris problem specific to swim spas. Because these units are longer and more open than a typical hot tub, leaves, pollen, and windblown dirt land across a bigger surface area. A cover keeps the water cleaner between uses, which matters even more on units with advanced filtration and ozone sterilization systems designed to keep water clear with minimal manual effort.
What a DIY Cover Can and Cannot Do
Building a cover yourself is a reasonable weekend project if the goal is basic insulation and debris control on a budget. It is not a full substitute for a manufactured cover when the priorities are structural safety, long-term weather resistance, or a locking mechanism that meets local pool safety codes.
Here’s a realistic breakdown of what to expect from each approach:
Factor
DIY Cover
Manufactured Cover
Upfront cost
Lower, mostly material cost
Higher, includes labor and engineering
Insulation value
Moderate, depends on foam density
Consistent, tested foam-to-vinyl ratio
Lifespan
1 to 3 years typically
5 to 10 years with proper care
Weight and safety rating
Varies, no formal load rating
Often rated for foot traffic or snow load
Fit precision
Requires careful measuring
Custom-cut to exact spa dimensions
Locking hardware
Optional add-on
Usually included
For a unit as large as a 19-foot swim spa, precision matters more than it does on a compact hot tub. A cover that sags even slightly in the middle collects rainwater, which adds weight and accelerates sagging further. That’s a compounding problem, not a cosmetic one.
Materials You’ll Need for a Homemade Cover
Most DIY builds follow the same basic sandwich structure that commercial covers use, just with less precision and cheaper components. The core layers are:
A rigid foam core, typically closed-cell polystyrene, cut to match the spa’s footprint
A vinyl or marine-grade tarp material to wrap the foam and block UV and moisture
Marine-grade thread or heavy-duty adhesive to seal seams
A hinge system, often a simple piano hinge or heavy strapping, to split the cover into foldable sections
Tie-down straps or clips to secure the cover against wind
Skipping the vinyl wrap is a common mistake. Bare foam absorbs water like a sponge, and once that happens, the insulation value drops and the cover becomes heavy enough to be a strain injury waiting to happen.
Measuring for a Swim Spa Cover
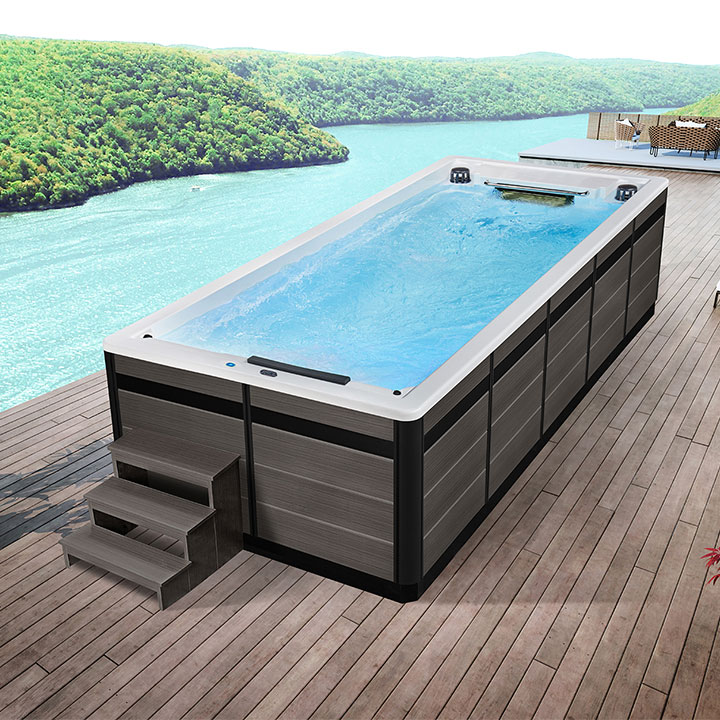
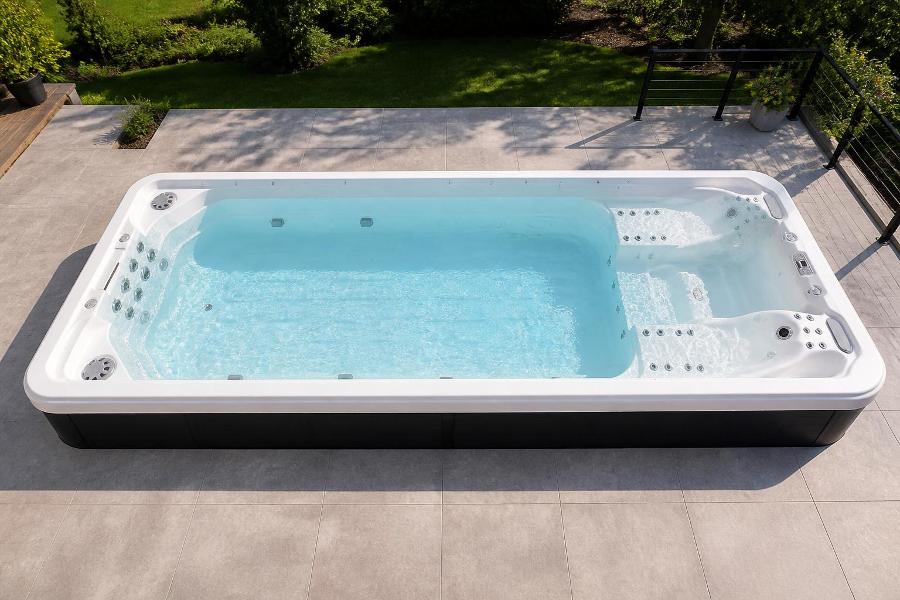
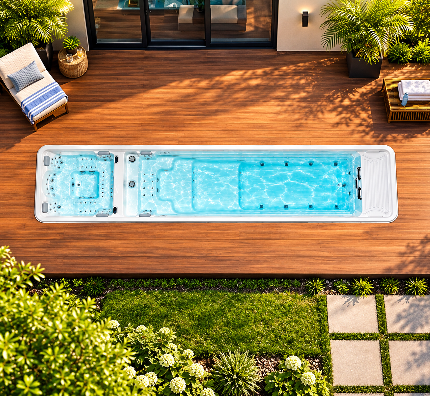
Swim spas are not shaped like standard hot tubs, and that changes the measuring approach. A model like the M-503 measures 5,800 mm by 2,200 mm, which is roughly 19 feet by 87 inches. That elongated footprint means a single-piece cover is impractical to lift, so most DIY builds split the cover into two or three folding sections.
When measuring, account for:
The exact outer lip dimensions, not just the water surface area
Any raised control panel housing, since touchscreen units like a KL2020BT panel often sit slightly above the cabinet line
Clearance for handles or grab points along the cabinet edge
Extra overhang of about 1 to 2 inches per side to prevent wind from lifting the edges
Cutting foam even slightly undersized leads to gaps where heat escapes and debris sneaks in, which defeats the purpose of building a cover at all.
Step-by-Step DIY Build Process
Once materials are gathered and measurements confirmed, the build itself follows a fairly linear sequence:
Cut the foam core into panels sized to the fold pattern you’ve planned
Lay the vinyl material flat and position the foam panels on top with spacing for hinge folds
Wrap and glue the vinyl around each foam panel, sealing all edges
Stitch or heat-seal the seams where panels meet to prevent water intrusion
Attach the hinge system between panels so the cover folds for storage
Add tie-down straps at each corner and along the long edges
Let the adhesive cure fully before the first use. Rushing this step is the most common reason DIY covers fail within the first few months, since uncured seams let moisture seep into the foam core.
Common Mistakes That Shorten Cover Lifespan
A few recurring errors show up across most failed DIY builds, and they’re worth flagging before you start:
Using indoor-grade tarp material instead of marine-grade vinyl, which cracks under UV exposure within a season
Skipping a vapor barrier between the foam and the water-facing side, letting condensation soak the core
Underestimating wind load on a long cover, which needs more tie-down points than a small hot tub cover
Forgetting to leave clearance for LED lighting housings or jet controls that sit above the shell line
None of these mistakes are fatal on their own, but they compound. A slightly damp foam core plus a windy week plus one missed tie-down point is a fast track to a cover that needs replacing within a year.
When a Manufactured Cover Makes More Sense
There’s a point where the labor and material cost of a DIY build starts to rival a manufactured cover, especially for large units with multiple pumps and higher heater loads. A swim spa running three 3 HP pumps and a combined 6,000-watt heating system benefits more from consistent insulation than a smaller spa would, simply because there’s more water mass and more heater cycling at stake.
If your swim spa sits in a high-wind area, gets heavy snow load, or is used year-round rather than seasonally, the long-term cost of replacing a DIY cover every year or two often outweighs the upfront savings. A manufactured cover with a formal weight rating also matters more if the spa deck sees foot traffic or if there are children in the household, since a soggy DIY foam panel is not a reliable safety barrier.
Frequently Asked Questions
How long does a DIY swim spa cover typically last? Most homemade covers last one to three years depending on climate exposure and how well the seams were sealed. Direct sun and freeze-thaw cycles are the biggest factors that shorten lifespan.
Can a DIY cover reduce heating costs? Yes, a well-built cover with proper foam density noticeably reduces heat loss and evaporation, which lowers how often heaters like dual 3,000-watt units need to cycle on.
Is closed-cell foam necessary, or will any foam work? Closed-cell foam resists water absorption far better than open-cell foam. Using the wrong type is one of the fastest ways to end up with a heavy, waterlogged cover.
Do I need a locking mechanism on a homemade cover? It’s strongly recommended, especially with children or pets around. A basic clip-and-strap system is better than nothing, but it won’t meet the same safety standard as a manufactured locking cover.
What’s the biggest difference between covering a hot tub versus a swim spa? Length and fold complexity. A swim spa’s elongated shape, like the 19-foot footprint on larger backyard models, usually requires a multi-panel folding design rather than the single-piece lid common on compact hot tubs.
Final Thoughts on Building Your Own Cover
A diy swim spa cover can be a smart short-term solution for owners who want basic insulation and debris protection without the upfront cost of a manufactured one. It works best as a stopgap or a budget-conscious choice for milder climates and seasonal use. For larger installations, high-power heating systems, or households where safety rating matters, weighing the tradeoffs against a manufactured cover is worth the extra thought before committing to a build.
Victoria Star Swim Spa offers the perfect balance between exercise and relaxation, whether you want to swim for fitness or relax in the spacious seating.
Victoria Star Swim Spa offers the perfect balance between exercise and relaxation, whether you want to swim for fitness or relax in the spacious seating.