Building a DIY Cold Plunge Chiller: What Actually Works and When to Buy Instead
Home / News / Building a DIY Cold Plunge Chiller: What Actually Works and When to Buy Instead
September 29, 2026
Cold water therapy has moved from athlete locker rooms into backyards, and with that shift comes a common question: should you build a diy cold plunge chiller or buy a system that’s already engineered for the job? The answer depends less on budget and more on how much temperature control actually matters to your routine.
A cold plunge only works if the water stays cold enough, consistently, without turning into a chore. That’s the part most DIY guides gloss over.
Why People Try to Build Their Own Chiller First
Buying a stock tank or an old chest freezer feels cheap and satisfying at first. You fill it, dump in some ice, and you’re in the water within an hour. For occasional use, that’s fine.
The problem shows up on day five, or day twenty, once ice runs out and refilling becomes a weekly errand. Cold plunging works best as a habit, not an occasional event, and habits fail when the setup adds friction.
Three recurring pain points show up in almost every DIY cold plunge chiller project:
Temperature drift: without active refrigeration, water warms within hours, especially outdoors in direct sun.
Water quality: standing water without filtration grows bacteria fast, requiring frequent draining and refilling.
Ice logistics: sourcing, storing, and hauling ice adds a recurring cost that often exceeds the price of a small chiller unit over a season.
What a DIY Setup Actually Requires
A functional homemade cold plunge chiller generally combines three components: an insulated tub, a way to actively cool the water, and some form of circulation. Skip any one of these and the system underperforms.
Insulation matters more than people expect. A tub without insulated walls loses cold fast, particularly outdoors where ambient heat and direct sun work against you all day. Reflective covers help, but they’re a patch, not a substitute for a properly insulated shell.
Circulation is the piece most home builds skip entirely. Without a pump moving water, the coldest layer settles at the bottom while the surface warms, creating uneven temperatures that make thermometer readings misleading. A modest pump, even a basic one, corrects this and also helps keep the water from stagnating between uses.
Where DIY Cooling Methods Fall Short
Chest freezer conversions are the most popular DIY route, and they do work, at least mechanically. A submersible pump circulates water from the tub through a heat exchanger coil sitting inside a repurposed chest freezer, gradually pulling heat out of the loop.
The tradeoffs are real, though:
Space: a chest freezer conversion needs a dedicated utility area, which many patios and small yards don’t have.
Maintenance: coil fouling, freezer compressor wear, and DIY plumbing joints all need periodic attention.
Consistency: without a thermostat calibrated for the loop, temperatures swing more than a purpose-built heat pump system would allow.
Warranty: modified appliances carry no coverage if something fails, unlike a manufactured cold plunge unit.
None of this means a chest freezer build is a bad project. It’s a legitimate weekend engineering exercise for someone who enjoys tinkering. It’s just not the lowest-effort path to reliable cold water.
Comparing DIY Builds to Manufactured Cold Plunge Tubs
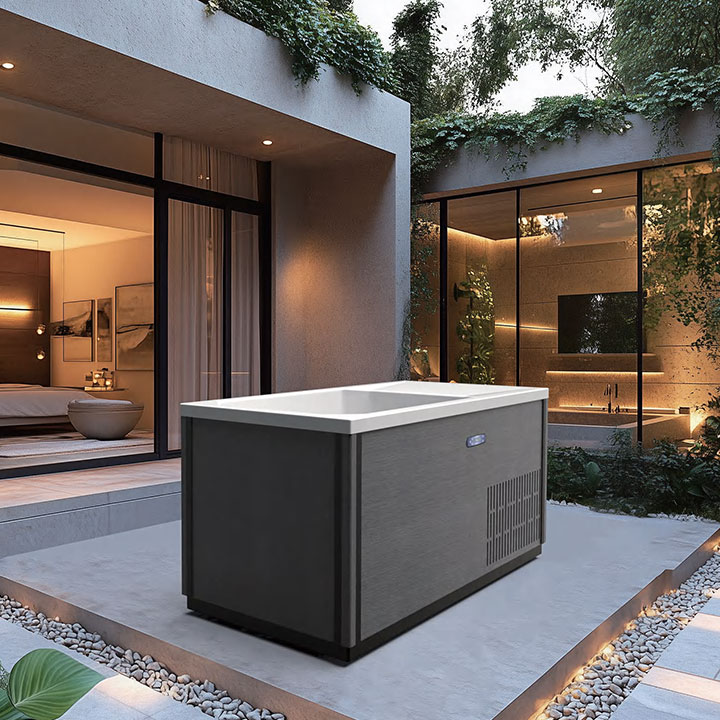
Here’s a practical breakdown of what changes when you move from a homemade setup to an engineered unit like the Outdoor Cold Plunge Tub C02.
Factor
Typical DIY Build
Purpose-Built Cold Plunge Tub
Cooling method
Ice or chest freezer coil
Integrated heat pump system
Temperature stability
Manual, drifts over hours
Automated regulation via control system
Water capacity
Variable, often 150-400L
Fixed and tested, e.g. 320L
Circulation
Optional, often skipped
Built-in brushless pump
Power draw
Freezer compressor, variable
Rated output, e.g. 900W heater, 54W pump
Setup time
Hours to days
Delivered assembled or near-ready
Maintenance
Coil cleaning, plumbing checks
Standard filter and shell care
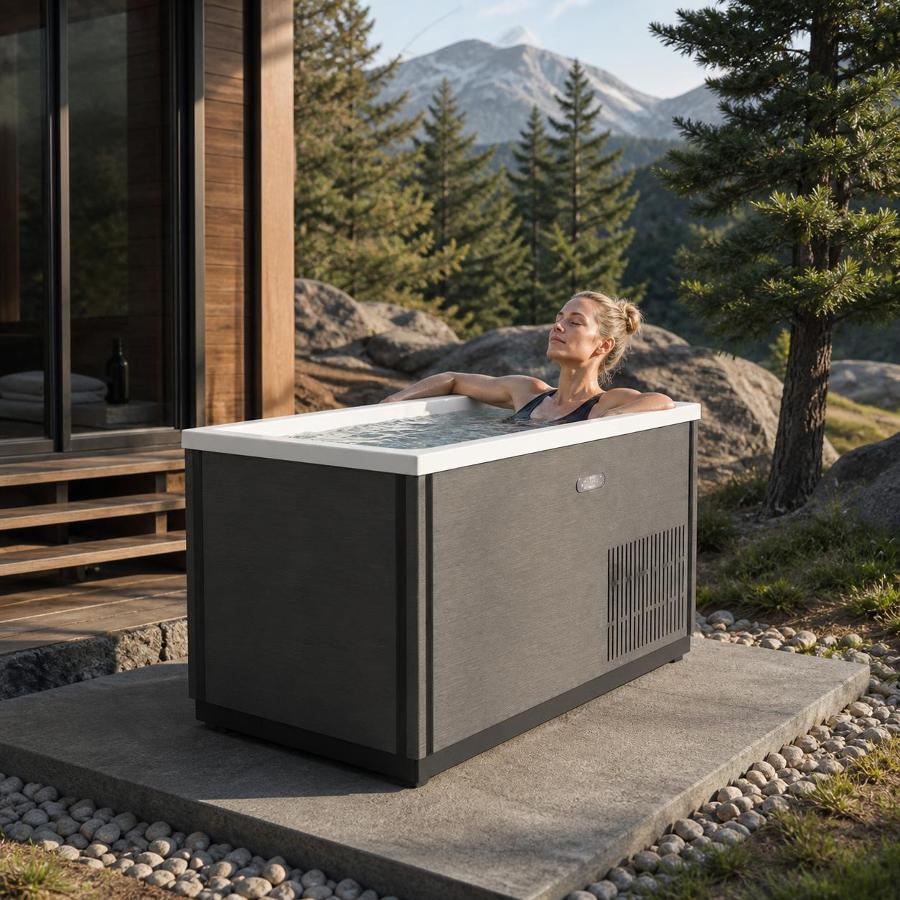
The C02, for reference, runs a 900W heat pump paired with a 54W brushless pump inside a 320-liter acrylic shell, according to its product specifications. That combination is designed specifically to hold a target temperature without the operator manually adding ice or monitoring a thermometer throughout the day.
When a DIY Chiller Genuinely Makes Sense
Not everyone needs a manufactured unit, and it would be dishonest to suggest otherwise. A diy cold plunge chiller makes sense when:
You plunge occasionally, maybe once or twice a week, and don’t mind the ice routine.
You already own a chest freezer or similar equipment sitting unused.
You enjoy building and maintaining mechanical systems as a hobby in itself.
Budget constraints outweigh the convenience of automated temperature control.
If any of those don’t apply, particularly if you’re aiming for daily or near-daily use, the math shifts toward a system built for consistent output.
Why Daily Practice Changes the Calculation
Athletes and recovery-focused users tend to plunge far more often than casual users, and this is where DIY setups struggle most. Cold water immersion is commonly associated with vascular constriction and dilation cycles that support circulation, and the recovery benefit compounds with regular use rather than occasional dips.
A tub that can’t hold a stable low temperature undermines that consistency. If the water sits at 60°F one day and 68°F the next because ice wasn’t replenished, the experience becomes unpredictable, and unpredictable routines are the ones people abandon first.
This is precisely the gap that integrated heat pump systems are built to close. The C02 unit, for example, uses its heat pump and pump combination to maintain a set temperature automatically, removing the daily guesswork that ice-based systems introduce.
Design Details That Matter Beyond Temperature
Temperature control gets most of the attention, but a few structural details separate a comfortable cold plunge from an awkward one, regardless of whether it’s homemade or manufactured.
An ergonomic seating step matters more than it sounds. Climbing into a deep tub without a step is inconvenient at best and a fall risk at worst, particularly once cold-induced numbness sets in after a few minutes.
Shell material also affects long-term usability. A high-grade acrylic interior, like the porcelain acrylic finish used on the C02, resists staining and stays smooth against skin, which matters for anyone using the tub daily rather than occasionally.
Weather resistance on the exterior cabinet is another detail DIY builds often skip. Outdoor installations face rain, UV exposure, and temperature swings year-round, and an unprotected wooden or metal enclosure deteriorates faster than a cabinet designed for exterior use.
Placement and Setup Considerations
Where you put the tub affects performance almost as much as the cooling method itself. A unit placed in direct afternoon sun works harder to hold temperature than one positioned in partial shade or against a shaded wall.
Backyard patios, covered decks, and courtyard corners tend to perform better than fully exposed lawn areas. This applies equally to DIY builds and manufactured units, though the heat pump system in a manufactured tub has more capacity to compensate for ambient heat gain.
For those setting up in a training facility or commercial wellness space rather than a backyard, ambient temperature control becomes even more important, since multiple users throughout the day introduce more heat into the water through repeated entry and exit.
Frequently Asked Questions
Can a DIY cold plunge chiller reach the same temperatures as a manufactured heat pump unit? It can, briefly, with enough ice. The difference is sustaining that temperature over hours or days without manual intervention, which ice-based systems aren’t designed to do.
Is a chest freezer conversion safe to use long-term? Many people run these systems for extended periods without issue, but they lack the warranty and testing that come with a purpose-built unit, so ongoing maintenance and inspection fall entirely on the owner.
How often should cold plunge water be changed or filtered? This depends heavily on the system. Standing water without filtration needs frequent draining, while tubs with proper circulation and filtration extend the interval considerably.
Does a bigger tub mean better cold therapy results? Not necessarily. Capacity affects comfort and how many people can use it, but temperature consistency and circulation matter more for the physiological response than sheer water volume.
Making the Decision That Fits Your Routine
Building a diy cold plunge chiller is a reasonable starting point for anyone testing whether cold water immersion fits their routine before committing further. It’s inexpensive, forgiving of mistakes, and teaches you a lot about what you actually want from the practice.
Once cold plunging becomes a fixture rather than an experiment, though, the limitations of ice and improvised cooling tend to surface. That’s usually the point where people start looking at engineered options, whether that’s a dedicated chiller add-on or a fully integrated tub like the ones we build at Victoria Star, where systems such as the C02 combine heat pump regulation with durable outdoor-rated construction. Whichever path you take, the goal stays the same: cold water that’s actually there when you need it, without turning recovery into extra work.
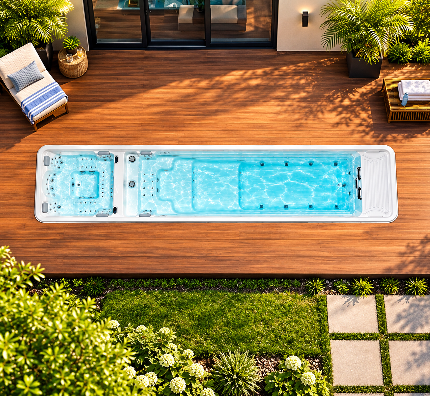
Victoria Star Swim Spa offers the perfect balance between exercise and relaxation, whether you want to swim for fitness or relax in the spacious seating.
Victoria Star Swim Spa offers the perfect balance between exercise and relaxation, whether you want to swim for fitness or relax in the spacious seating.